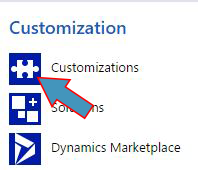
The Easiest Method for Finding and Making Custom Entity or Action Icons for Microsoft Dynamics 365
There are two types of Microsoft Dynamics 365 entity icons that can be uploaded– a medium icon and a small icon. This article will focus on the Medium (32×32) icons used in the navigation menu (Action Icons); however, similar steps can be used to source the small or medium entity icons.
Medium Icons
Used in the sitemap navigation menu the default action item icons and/or the entity icon.
Action Icon
Entity Icon
***Make sure your new icon meets all of the following specifications before you upload it to the application.***
Medium Icon Specifications Checklist
- PNG (will be the easiest format to find icons and supports transparent backgrounds)
- Size 32 x 32 pixels
- Color white (#FFFFF) for Action Items or gray/black for Entity Icons
- There should be a 2-3 transparent pixel border around the icon (leave room around the edge of the artwork so the artwork does not touch the sides of the button, also called padding)
- Transparent Background
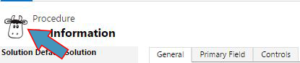
Small Icons
Used in the customization menu sidebar
Small Icon Specifications Checklist
- PNG (will be the easiest format to find icons and supports transparent bg)
- Size 16 x 16 pixels
- Color flat gray (#5D5D5D), black, or full color with outlines
- Transparent background
Step One: Find an Icon to Use
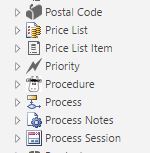
The first place I recommend looking is in the SDK files for Microsoft Dynamics to see if there are any icons Microsoft already has prepared. This will be the easiest option because they will already be available inside the application.
Use our Quick Reference sheet to quickly scan through the different icons already existing within the application.
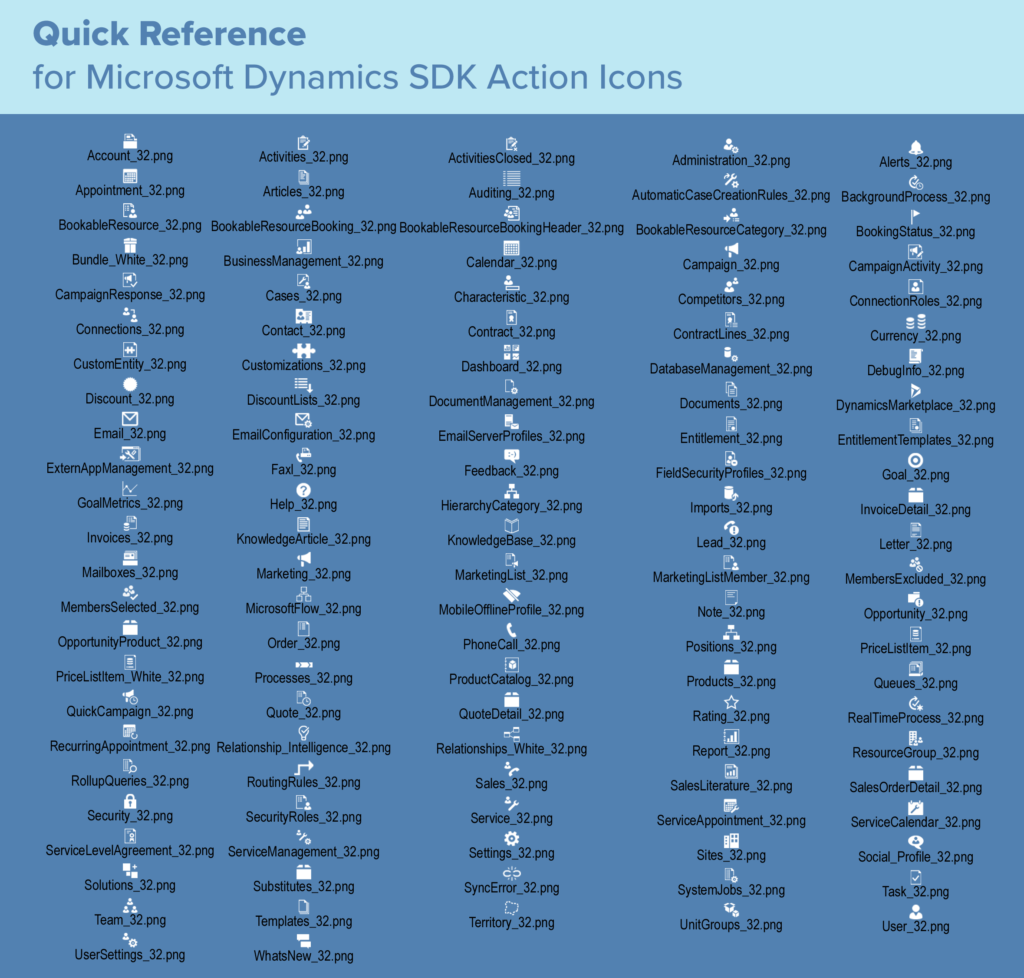
Action Item Quick Reference Guide
If one of these works for your needs, the icon is already uploaded in the web resources, and you can search for it in the web resources.
If you determine you still need a custom icon, you will need to locate a new icon image to use.
This new icon does not need to perfectly match the specifications above before you download it (though it will save you editing time if you can find one that does); However, I will show you how to edit it after downloading if needed in step two.
What to look for in a new icon image
- Fits as many of the above specifications as possible before download
- Flat white or black (makes it easier to change to white in the editor)
- Transparent Background
- PNG (supports transparent background, and most icon sites support this format)
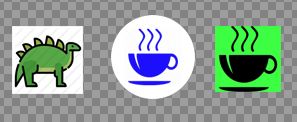
Good Examples

- No Whitespace
- One Color (white or black)
- Flat (no shading)
- Transparent Background
Bad Examples
If you choose an Icon like these, you will need additional editing beyond the scope of this article.
- Multiple colors
- Background colors
- Whitespace
Icon Sourcing Sites
1. Flaticons.net

This site is the most comprehensive site I have found for the icon type needed. If you use icons on this site, you will not need to edit the icons after you download them.
Benefits:
- All icons are the preferred style
- Edit color before download
- Edit size before download
- Edit padding before download
- Edit background before download
- Download as PNG
- Free for commercial and personal use with no attribution needed.
Drawbacks:
- Limited choices (however, still the most out of any other source)
2. Iconmonstr.com

https://iconmonstr.com/collections/
If you use icons on this site, you will not need to edit the icons after you download them!
Benefits:
- All icons are the preferred style
- Edit color before download
- Edit size before download
- Edit padding before download
- Edit background before download
- Download as PNG
- Free for commercial and personal use with no attribution needed.
Drawbacks:
- Limited choices (however, still tons of options)
3. Iconsdb.com
![]()
http://www.iconsdb.com/white-icons/
Benefits:
- All icons are the preferred style
- Edit color before download
- Edit size before download
- Download as PNG
- Free for commercial and personal use with no attribution needed.
Drawbacks:
- Limited choices
- No padding edit before download (though not absolutely necessary for most of these)
- No background change before download (though not needed for most of these)
4. Icons8.com
![]()
Benefits:
- Edit to the preferred style before download
- Edit color before download
- Edit size before download
- Edit padding before download
- Edit background before download
- Download as PNG
- Wide variety of choices
Drawbacks:
- Attribution needed for free use
5. Flaticon.com

http://www.flaticon.com/icon-packs/filled
Benefits:
- Can easily sort icons by preferred style (search for “filled”)
- Download as PNG or PSD (PSD for easy Photoshop editing later)
- Wide variety of icons
Drawbacks:
- No color edit before download
- No size edit before download
- No padding edit before download (though not needed for most of these)
- No background change before download (though not needed for most of these)
- Attribution needed for free use
Step Two: Edit the Icon
- Go to: https://pixlr.com/editor/
- Open image from computer

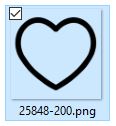
- Select downloaded icon
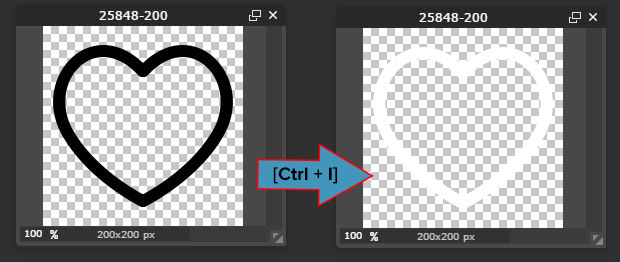
- Press [Ctrl+I] to invert color from black to white
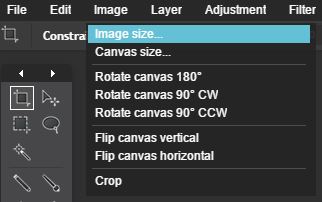
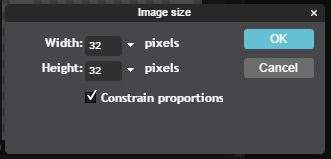
- Change image size: Go to Image>Image size… then change size to width 32px and height 32px.
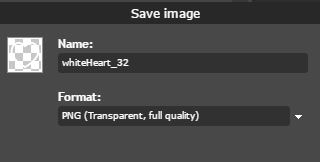
- Hit [Ctrl+S] and rename the file to save
Step Three: Upload and Set the New Icon
Follow Microsoft’s tutorial on uploading and using web resources:
https://technet.microsoft.com/en-us/library/dn660983.aspx
Ledgeview Partners has an excellent article explaining how to change an entity icon:
http://ledgeviewpartners.com/blog/changing-a-custom-entity-icon-in-dynamics-crm/
If you are trying to change the action icon, you will need to do so through the sitemap navigation or set the medium entity icon, and this will become the default icon in the sitemap navigation.
Microsoft’s Sitemap tutorial:
https://msdn.microsoft.com/en-us/library/gg309259.aspx